สรุปคลิป Youtube: How I Generate Unlimited Ad Creative with Nano Banana + n8n (Gemini 2.5 Flash Image) จากช่อง The Recap | AI Automation
Workflow นี้สามารถทำ โฆษณาคุณภาพสูงในปริมาณมาก ได้แบบอัตโนมัติ โดยเอาผลิตภัณฑ์จริงไปอยู่ในมือของ influencers หลาย ๆ คน
แอพฯ และ API ที่ต้องใช้
- n8n ต่อ AI Automation Workflow อัตโนมัติ
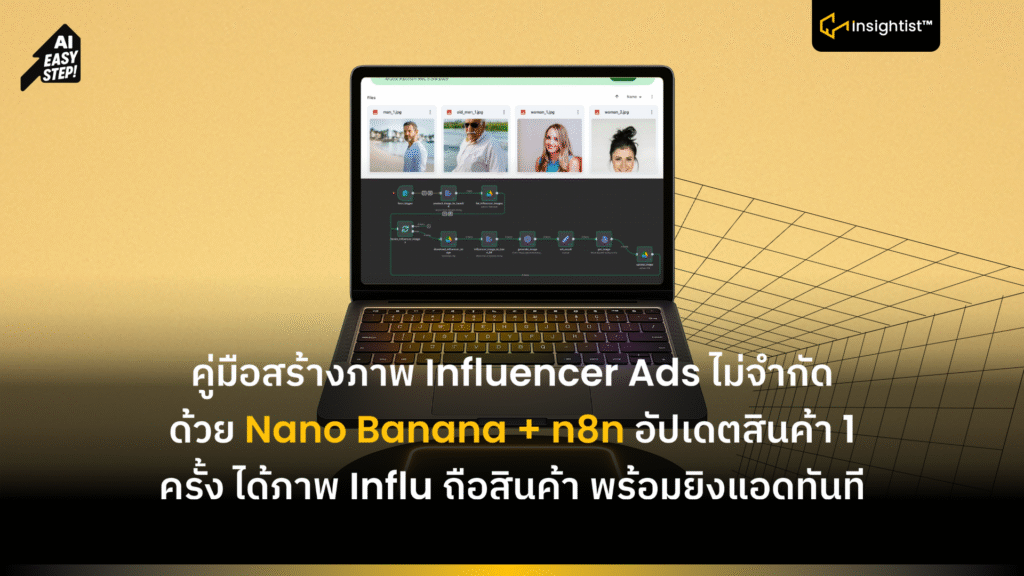
- Google Drive เก็บรูปอ้างอิงของ influencer ในโฟลเดอร์ + โฟลเดอร์ผลลัพธ์ (output)
- Google AI Studio ใช้สร้าง/จัดการ Gemini API Key (เอามาใส่ใน Credential ของ n8n)
- Google Gemini API (Generative Language) เรียก Gemini-2.5-flash-image-preview
ขั้นตอนการสร้าง Workflow
- เพิ่ม Node form_trigger จุดเริ่มต้น Workflow ให้เราอัปโหลดรูปสินค้า ที่จะใช้เข้าไป
- เพิ่ม Node product_image_to_base64 แปลงไฟล์ภาพสินค้า เป็นข้อความ (String) base64 เก็บข้อมูล Output เป็น Data เพื่อส่งต่อให้ API
- เพิ่ม Node list_influencer_images ดึงรายการ/ID รูป influencer ทั้งหมดจากโฟลเดอร์ใน Google Drive (ต้องทำการ Credential เชื่อมต่อ Google Drive ใน n8n ให้เรียบร้อยก่อนครับ)
- เพิ่ม Node iterate_influencer_images วนประมวลผลทีละรูป influencer ให้ขั้นตอนถัดไปทำงานเป็นรอบ ๆ โดยตั้งค่า Batch Size: 1
- เพิ่ม Node download_influencer_image ดาวน์โหลดไฟล์รูป influencer ของรอบนั้นมาเป็นไฟล์ binary
- เพิ่ม Node influencer_image_to_base64 แปลงรูป influencer ที่ดาวน์โหลดให้เป็นสตริง base64
- เพิ่ม Node HTTP Request generate_image ส่ง prompt + รูปสินค้า + รูป influencer (แบบ base64) ไปที่ Gemini 2.5 Flash Image เพื่อรวมภาพ ปรับ Parameter ข้างใน
- ตรง Prompt Message ใส่ว่า Create an image where the cup/tumbler in image 1 is being held by the person in the 2nd image (like they are about to take a drink from the cup). The person should be sitting at a table at a cafe or coffee shop and is smiling warmly while looking at the camera. This is not a professional photo, it should feel like a friend is taking a picture of the person in the 2nd image. Only return the final generated image. The angle of the image should instead by slightly at an angle from the side (vary this angle).”
- },
- {
- “inline_data”: {
- “mime_type”: “image/png”,
- “data”: “{{$node[‘product_image_to_base64’].json.data}}”
- }
- },
- {
- “inline_data”: {
- “mime_type”: “image/jpeg”,
- “data”: “{{$node[‘influencer_image_to_base64’].json.data}}”
- }
- }
- ]
- }]}
- เพิ่ม Node set_result ดึงค่า base64 ของภาพผลลัพธ์จาก response ของ API ออกมาเก็บไว้
- เพิ่ม Node get_image แปลง base64 ผลลัพธ์กลับมาเป็นไฟล์รูป (binary) พร้อมใช้งาน ตอนได้ไฟล์รูปเสร็จ สามารถเช็คภาพดูข้างในว่า เป็นอย่างไร ก่อนเข้าไปดูโฟลเดอร์รวมภาพที่เจนเสร็จ ใน Node ถัดไป
- เพิ่ม Node upload_image อัปโหลดไฟล์ภาพสุดท้ายขึ้นโฟลเดอร์ปลายทางใน Google Drive พร้อมตั้งชื่ออัตโนมัติ
ข้อสรุป:
เพียงเท่านี้ก็จะได้ภาพ Influencer ถือสินค้า โดยเราอัพโหลดภาพสินค้าและ Influencer ลงใน Folder Googler Drive ลงไป ที่เหลือ n8n จัดการเอง